Getting Started
From Signup to First Payment: Quick Start
Welcome to ClassGo! This guide walks you through the full journey from signup to your first payment in 6 steps. Each step links to a detailed article — open them when you need more depth.
Step 1: Create your studio
Click Sign Up in the top-right corner, enter your studio name, type, and your name/email/password (or sign up with Google). Your studio is created automatically and you're logged in on the Free plan.
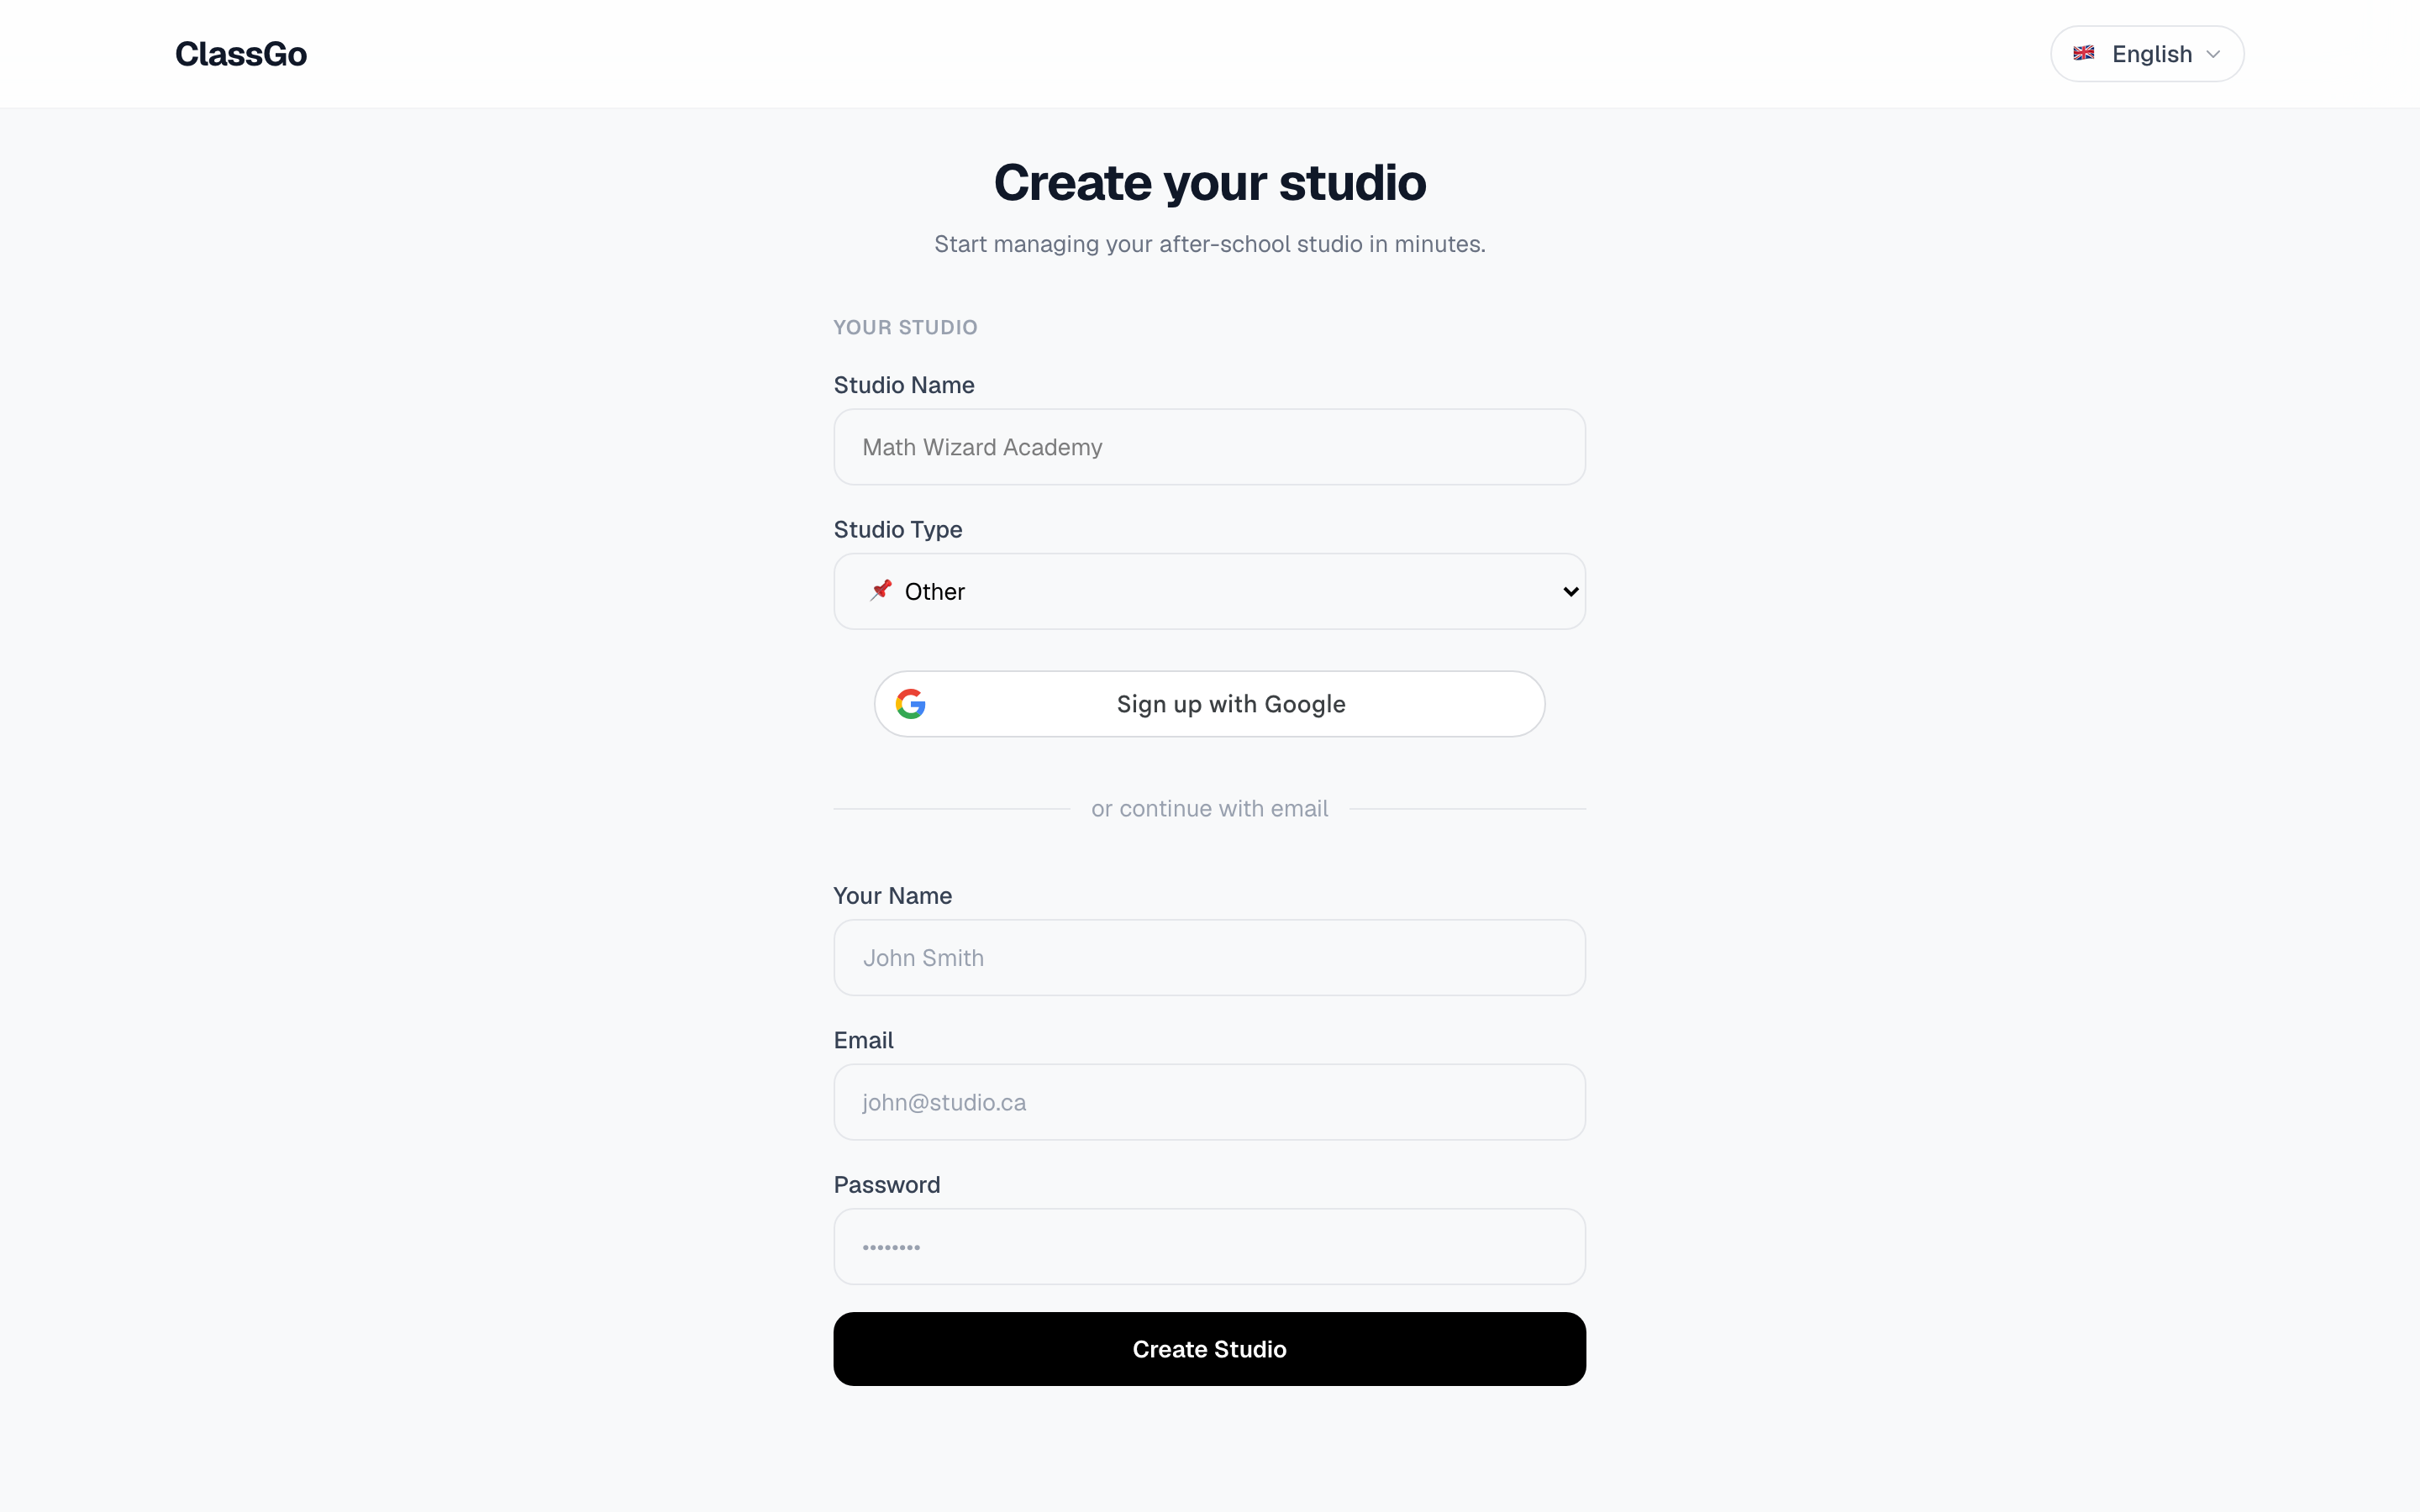
💡 For every field explained in detail, see Signup & Studio Setup.
Step 2: Complete your studio info
Open Settings in the dashboard: set the studio type, phone, timezone, address, and enable payment methods (we recommend turning on Stripe online payments).
💡 Detailed instructions in Signup & Studio Setup.
Step 3: Add teachers
Members → + Invite User → choose role Teacher, enter name and email. The teacher receives a temporary password by email and can view their schedule.
⚠️ Limit note: The Free plan includes 1 teacher slot (the owner). Upgrade before adding your first teacher. See Members & Permissions.
Step 4: Add students
Students → Add Student — fill in the student details. You can also add in bulk or invite parents. The student limit of your plan is checked automatically.
💡 Detailed instructions in Adding & Managing Students.
Step 5: Create classes
Classes → New Class: name, teacher(s), weekly schedule (supports repeats), room and capacity. All sessions are generated automatically.
💡 Detailed instructions in Creating Classes & Managing the Schedule.
Step 6: Start collecting payments
After enrollment, create an installment plan under Payments. Parents can pay by card (online), e-Transfer or cash — status syncs automatically.
💡 Detailed instructions in Payments: Methods & Installment Plans.
What's next?
- Explore any feature in depth from the All Articles list
- Stuck? Check the FAQ